连接MySQL
参考链接:https://www.cnblogs.com/Jaryer/p/13671449.html
maven添加依赖
1
2
3
4
5
|
<dependency>
  <groupId>com.mysql</groupId>
  <artifactId>mysql-connector-j</artifactId>
  <version>8.0.33</version>
</dependency>
|
连接数据库
1
2
3
4
5
|
val host = "localhost"
val port = 3306
val database = "sparktest"
val jdbcUrl = s"jdbc:mysql://$host:$port/$database?useUnicode=true&characterEncoding=utf-8"
val mysqlConn: Connection = DriverManager.getConnection(jdbcUrl, "root", "123456")
|
执行查询
SQL语句在执行时有三种:executeQuery,executeUpdate,execute。具体细节可查看此节开头的参考资料。
1
2
3
4
5
6
7
8
9
|
    val statement: Statement = mysqlConn.createStatement()
    //插入数据
    statement.executeUpdate("insert into employee values (3,'Mary','F',26)")
    statement.executeUpdate("insert into employee values (4,'Tom','M',23)")

    val result: ResultSet = statement.executeQuery("select max(age) as max_age,avg(age) as avg_age from employee")
    while (result.next()) {
      println(result.getString("max_age"),result.getString("avg_age"))
    }
|
完整代码
 1
 2
 3
 4
 5
 6
 7
 8
 9
10
11
12
13
14
15
16
17
18
19
20
21
22
23
24
25
26
27
|
package sparkjob5

import java.sql.{Connection, DriverManager, ResultSet, Statement}

object task3 {
  def main(args: Array[String]): Unit = {
    //连接mysql
    val host = "localhost"
    val port = 3306
    val database = "sparktest"
    val jdbcUrl = s"jdbc:mysql://$host:$port/$database?useUnicode=true&characterEncoding=utf-8"
    val mysqlConn: Connection = DriverManager.getConnection(jdbcUrl, "root", "123456")

    val statement: Statement = mysqlConn.createStatement()
    //插入数据
    statement.executeUpdate("insert into employee values (3,'Mary','F',26)")
    statement.executeUpdate("insert into employee values (4,'Tom','M',23)")

    val result: ResultSet = statement.executeQuery("select max(age) as max_age,avg(age) as avg_age from employee")
    while (result.next()) {
      println(result.getString("max_age"),result.getString("avg_age"))
    }

    result.close()
    statement.close()
  }
}
|
连接Hive
参考链接:https://www.jianshu.com/p/27a798013990
连接Hive前需要开启Hive的metastore和hiverserver2。开启命令如下。
- 开启Hadoop集群
- 开启Hive,第二三行的启动命令需要分别开一个终端启动,输出的日志在
/usr/local/hive/logs。
1
2
3
|
cd /usr/local/hive
hive --service metastore >logs/metastore.log 2>&1
hive --service hiveserver2 >logs/hiveServer2.log 2>&1
|
添加依赖
 1
 2
 3
 4
 5
 6
 7
 8
 9
10
11
12
13
14
15
|
<dependency>
  <groupId>org.apache.spark</groupId>
  <artifactId>spark-hive_2.12</artifactId>
  <version>3.3.2</version>
</dependency>
<dependency>
  <groupId>org.apache.hadoop</groupId>
  <artifactId>hadoop-client</artifactId>
  <version>3.3.4</version>
</dependency>
<dependency>
  <groupId>org.apache.hive</groupId>
  <artifactId>hive-jdbc</artifactId>
  <version>3.1.3</version>
</dependency>
|
完整依赖如下(包含了Scala连接MySQL的依赖)
 1
 2
 3
 4
 5
 6
 7
 8
 9
10
11
12
13
14
15
16
17
18
19
20
21
22
23
24
25
26
27
28
29
30
31
32
33
34
35
36
37
38
39
40
41
42
43
44
45
46
47
48
49
50
51
52
53
54
55
56
57
58
59
60
61
62
63
64
65
66
67
68
69
70
71
72
73
74
75
76
77
78
79
80
81
82
83
84
85
86
87
88
89
|
<?xml version="1.0" encoding="UTF-8"?>
<project xmlns="http://maven.apache.org/POM/4.0.0"
         xmlns:xsi="http://www.w3.org/2001/XMLSchema-instance"
         xsi:schemaLocation="http://maven.apache.org/POM/4.0.0 http://maven.apache.org/xsd/maven-4.0.0.xsd">
    <parent>
        <artifactId>Spark</artifactId>
        <groupId>org.example</groupId>
        <version>1.0-SNAPSHOT</version>
    </parent>
    <modelVersion>4.0.0</modelVersion>

    <artifactId>sparkCore</artifactId>
    <dependencies>
        <dependency>
            <groupId>org.apache.spark</groupId>
            <artifactId>spark-core_2.12</artifactId>
            <version>3.3.2</version>
        </dependency>
        <dependency>
            <groupId>org.apache.spark</groupId>
            <artifactId>spark-sql_2.12</artifactId>
            <version>3.3.2</version>
        </dependency>
        <dependency>
            <groupId>com.mysql</groupId>
            <artifactId>mysql-connector-j</artifactId>
            <version>8.0.33</version>
        </dependency>
        <dependency>
            <groupId>org.apache.spark</groupId>
            <artifactId>spark-hive_2.12</artifactId>
            <version>3.3.2</version>
        </dependency>
        <dependency>
            <groupId>org.apache.hadoop</groupId>
            <artifactId>hadoop-client</artifactId>
            <version>3.3.4</version>
        </dependency>
        <dependency>
            <groupId>org.apache.hive</groupId>
            <artifactId>hive-jdbc</artifactId>
            <version>3.1.3</version>
        </dependency>

    </dependencies>

    <properties>
        <maven.compiler.source>17</maven.compiler.source>
        <maven.compiler.target>17</maven.compiler.target>
        <project.build.sourceEncoding>UTF-8</project.build.sourceEncoding>
    </properties>
    <build>
        <plugins>
            <!-- 该插件用于将 Scala 代码编译成 class 文件 -->
            <plugin>
                <groupId>net.alchim31.maven</groupId>
                <artifactId>scala-maven-plugin</artifactId>
                <version>3.2.2</version>
                <executions>
                    <execution>
                        <!-- 声明绑定到 maven 的 compile 阶段 -->
                        <goals>
                            <goal>testCompile</goal>
                        </goals>
                    </execution>
                </executions>
            </plugin>
            <plugin>
                <groupId>org.apache.maven.plugins</groupId>
                <artifactId>maven-assembly-plugin</artifactId>
                <version>3.1.0</version>
                <configuration>
                    <descriptorRefs>
                        <descriptorRef>jar-with-dependencies</descriptorRef>
                    </descriptorRefs>
                </configuration>
                <executions>
                    <execution>
                        <id>make-assembly</id>
                        <phase>package</phase>
                        <goals>
                            <goal>single</goal>
                        </goals>
                    </execution>
                </executions>
            </plugin>
        </plugins>
    </build>
</project>
|
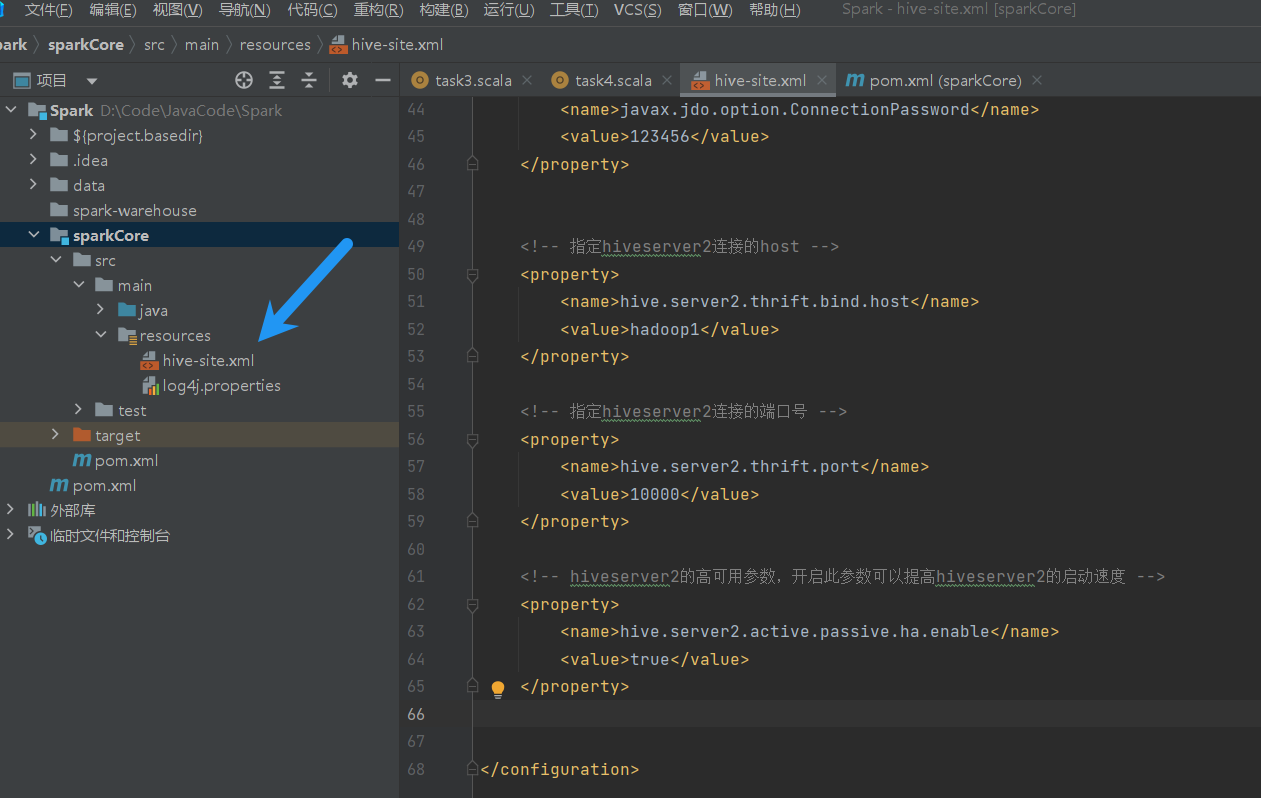
修改配置文件hive-site.xml
在resource下新建一个hive-site.xml,填入下列内容。注意:要把hadoop1修改成自己的Hadoop集群主节点名字或者ip。
 1
 2
 3
 4
 5
 6
 7
 8
 9
10
11
12
13
14
15
16
17
18
19
20
21
22
23
24
25
26
27
28
29
30
31
32
33
34
35
36
37
38
39
40
41
42
43
44
45
46
47
48
49
50
51
52
53
54
55
56
57
58
59
60
61
62
63
64
65
66
|
<?xml version="1.0"?>
<?xml-stylesheet type="text/xsl" href="configuration.xsl"?>
<configuration>
<!-- 添加文件调用 -->
<property>
<name>hive.exec.scratchdir</name>
<value>hdfs://hadoop1:8020/user/hive/tmp</value>
</property>
<property>
<name>hive.metastore.warehouse.dir</name>
<value>hdfs://hadoop1:8020/user/hive/warehouse</value>
</property>
<property>
<name>hive.querylog.location</name>
<value>hdfs://hadoop1:8020/user/hive/log</value>
</property>
<!-- 指定存储元数据要连接的地址 -->
<property>
<name>hive.metastore.uris</name>
<value>thrift://hadoop1:9083</value>
</property>
<!-- jdbc连接的URL -->
<property>
<name>javax.jdo.option.ConnectionURL</name>
<value>jdbc:mysql://hadoop1:3306/metastore?useUnicode=true&characterEncodeing=UTF-8&allowPublicKeyRetrieval=true&useSSL=false&serverTimezone=GMT</value>
</property>
<!-- jdbc连接的Driver-->
<property>
<name>javax.jdo.option.ConnectionDriverName</name>
<value>com.mysql.jdbc.Driver</value>
</property>
<!-- jdbc连接的username-->
<property>
<name>javax.jdo.option.ConnectionUserName</name>
<value>hive</value>
</property>
<!-- jdbc连接的password -->
<property>
<name>javax.jdo.option.ConnectionPassword</name>
<value>123456</value>
</property>
<!-- 指定hiveserver2连接的host -->
<property>
<name>hive.server2.thrift.bind.host</name>
<value>hadoop1</value>
</property>
<!-- 指定hiveserver2连接的端口号 -->
<property>
<name>hive.server2.thrift.port</name>
<value>10000</value>
</property>
<!-- hiveserver2的高可用参数,开启此参数可以提高hiveserver2的启动速度 -->
<property>
<name>hive.server2.active.passive.ha.enable</name>
<value>true</value>
</property>
</configuration>
|
Scala代码
在spark.sql()里写上正常的SQL语句即可完成查询。
 1
 2
 3
 4
 5
 6
 7
 8
 9
10
11
12
13
14
15
16
17
18
19
20
21
22
23
24
25
|
package sparkjob5


import org.apache.spark.SparkConf
import org.apache.spark.sql.SparkSession


object task4 {
  val driverName = "org.apache.hive.jdbc.HiveDriver"
  try {
    Class.forName(driverName)
  } catch {
    case e: ClassNotFoundException =>
    println("Missing Class", e)
  }

  def main(args: Array[String]): Unit = {
    val conf = new SparkConf().setMaster("local[3]").setAppName("hive")
    val spark = SparkSession.builder().config(conf).enableHiveSupport().getOrCreate()

    spark.sql("use spark_test")
    spark.sql("show tables").show()
    spark.close()
  }
}
|
补充:将查询结果保存到hdfs上,如果想保存到本地,则可以将save的路径改成本地路径。
1
2
3
4
5
6
7
|
    val dataFrame = spark.sql("select uid,keyword from sougou_records where keyword like '%仙剑奇侠传%'")

    dataFrame.write
      .format("csv")
      .option("header", "false")
      .option("sep", "\t")
      .save("hdfs://hadoop1:8020/xianJianTest")
|
如果想以表格保存到MySQL或者Hive,可以使用saveAsTable()。
1
2
3
4
5
6
7
8
9
|
val host = "localhost"
val port = 3306
val database = "sparktest"
val jdbcUrl = s"jdbc:mysql://$host:$port/$database?useUnicode=true&characterEncoding=utf-8"
val connectionProperties = new java.util.Properties()
connectionProperties.put("user", "root")
connectionProperties.put("password", "123456")

df.write.mode(SaveMode.Overwrite).jdbc(jdbcUrl,"company",connectionProperties)
|
1
|
df.write.mode(SaveMode.Overwrite).saveAsTable("spark_test.company")
|